Scones are one of those things where everyone has various different recipes for them and their own special way to make it. It’s like American biscuits – some people have recipes handed down for generations, or they have a certain way that they’ve been making them for as long as they can remember.
A lot of people have debated for a while over what’s the difference between a scone and an American biscuit. It’s hard to pin down since there’s so many variations of recipes for both…And both can be made to be really delightful or made all wrong to where it tastes awful.
For me, personally, my biscuits have more butter than my scones…I also use milk for my biscuits and heavy whipping cream for my scones. My scones have a little bit of sugar in them and my biscuits have no sugar at all. And with my biscuits, I simply drop the dough onto the pan and bake it while I roll out the dough for my scones and cut them into rounds. You can eat biscuits at room temperature, but scones are best warm in my opinion.
But the biggest thing that keeps scones and biscuits as two different baked treats in my mind is that you can top a scone with jam, clotted cream, whipped cream, perhaps more butter if you wished, and you would never eat them plain. While a biscuit can be consumed as is without adding anything to it.
As a side note, these scones do not have dried fruits in them as some other scones might have.
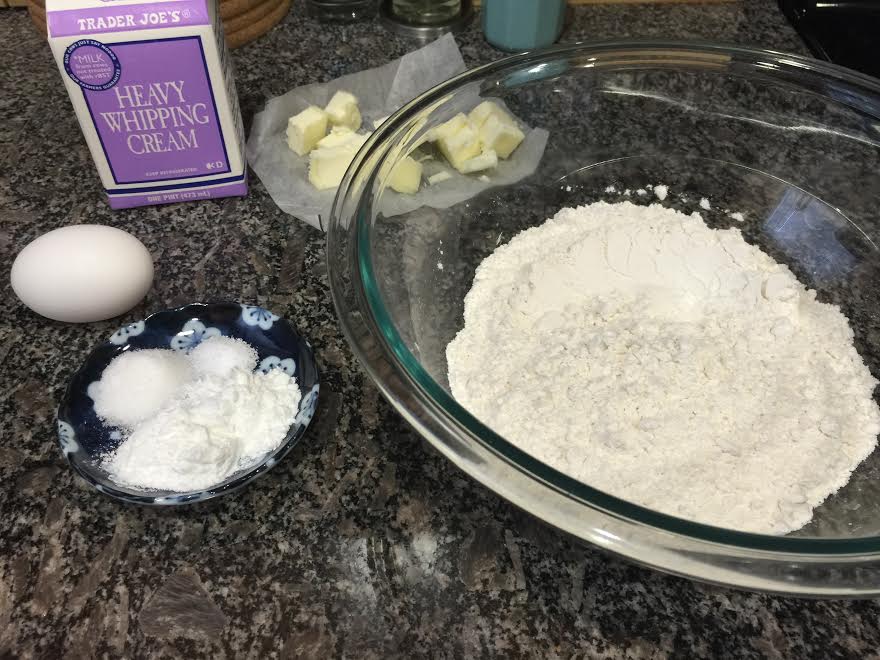
There aren’t many ingredients in these scones: flour, salt, sugar, baking powder, butter, heavy whipping cream, and an egg.
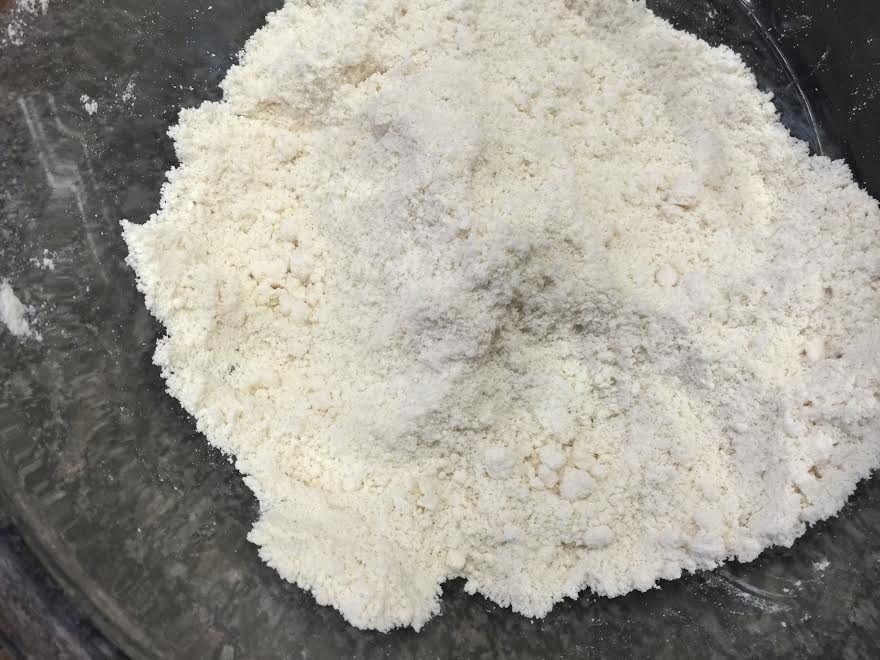
You start by mixing together the dry ingredients. Then you add in the butter. Then you rub the butter into the flour until there’s no large pieces or big flakes left. You could use a food processor to do this part, but I like to get hands-on with my baking. Plus, the body heat from your hands helps to get it well mixed in with the flour.
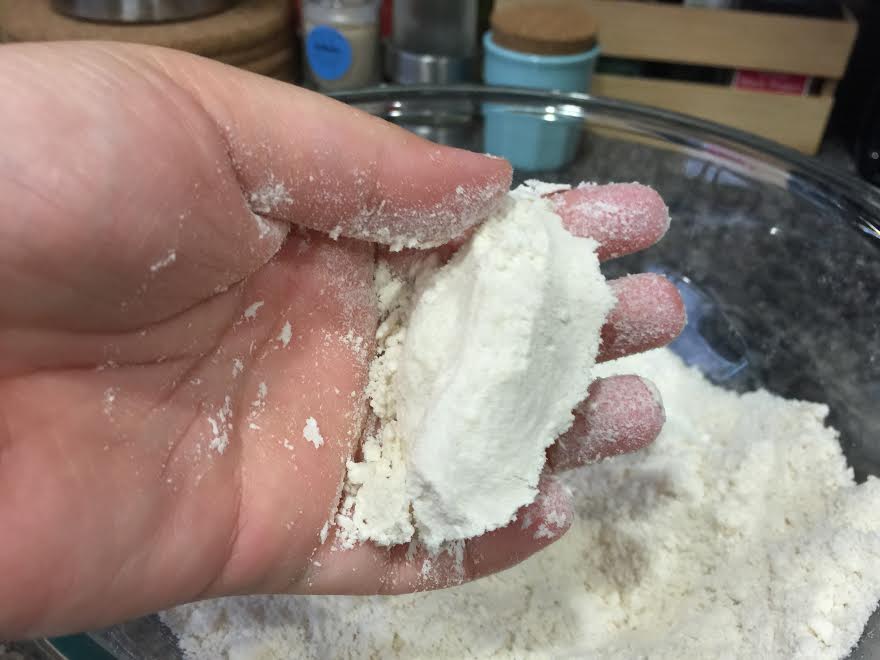
When the butter is fully mixed in, you should be able to clump the flour together with a hard squeeze and it’ll retain its shape, but will easily crumble and break apart.
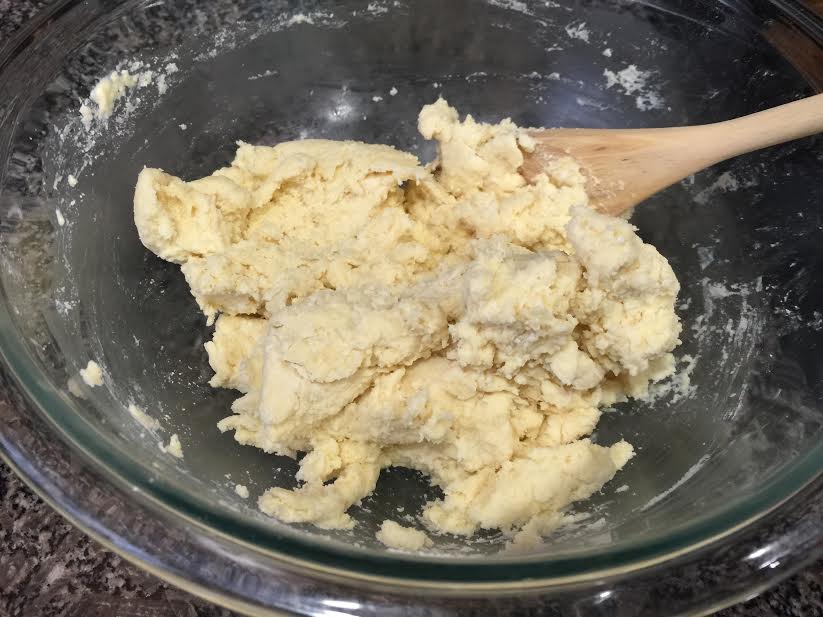
You take the egg and add it to a measuring cup and beat it slightly, then add heavy cream until you get ¾ of a cup. Then you add that to the flour mixture and mix everything comes together and there’s no dry bits of flour left in the bowl.

Scrape the dough from the bowl onto a floured work surface and knead the dough by hand a few times until everything comes together. Roll out the dough to about half an inch in thickness and use a round cutter to cut out the scones. Regather the dough, knead it a few times, then roll out and cut out more scones. Repeat until there’s no dough left. For the last little bit, you might need to shape it by hand. How many scones you get will depend on the size of the cutter that you use. I used a glass with a wider mouth once and only had 5 large scones. With the drinking glass I used this time, I got 11 smaller scones.
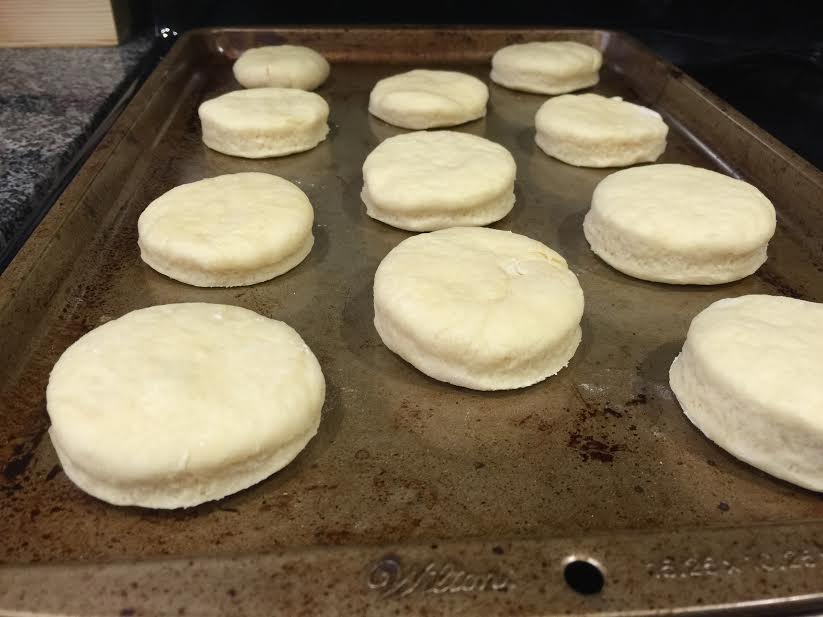
Once all your scones are cut out, place them on a baking sheet and place the whole thing in the freezer for 10 to 15 minutes. This helps the butter get cold again, which will help in making it flaky and puff up larger when you bake it.
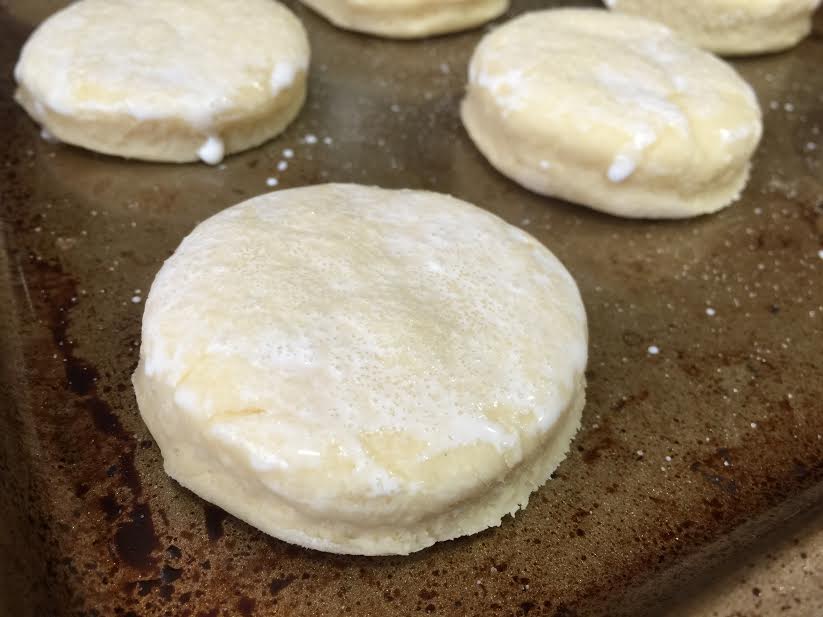
After they’ve been chilled in the freezer, you brush the tops of them with a mixture of heavy whipping cream and water. Sprinkle a little bit of white sugar over them and into the oven they go!
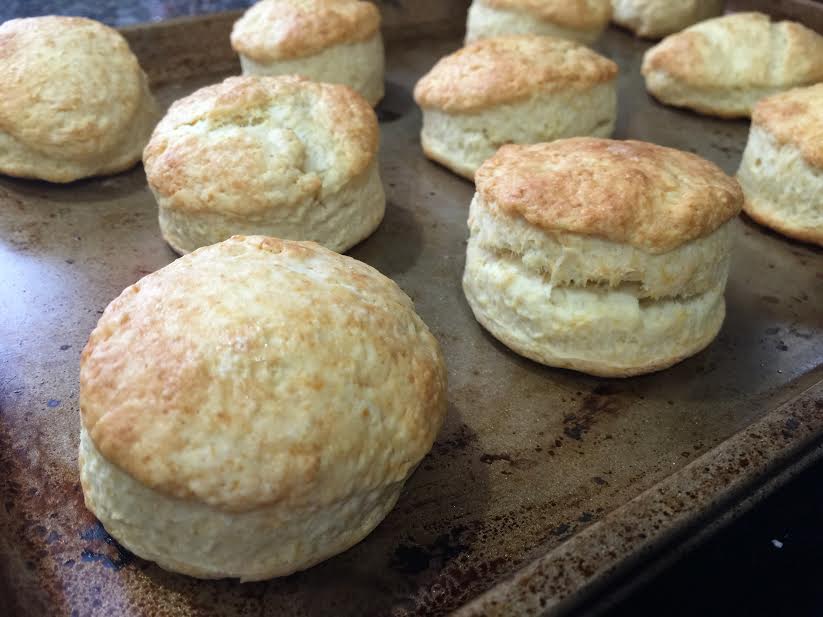
When they come out, they’ve doubled in size and are fluffy, flaky, moist, and delicious with a nice golden brown top to them. Let them cool down a bit, then devour them while still warm!
Plain Scones
Ingredients
- 2 cups all purpose flour
- 4 teaspoons baking powder
- 1 teaspoon white sugar
- ½ teaspoon salt
- 4 tablespoons cold, unsalted butter cut into cubes
- 1 egg
- heavy whipping cream
Steps
- Preheat the oven to 400° F.
- Mix flour, baking powder, salt, and sugar in a large mixing bowl.
- Add cubes of butter and rub in with finger until there’s no large pieces of butter and the flour looks crumbly.
- In a measuring cup, beat egg lightly…Then add heavy cream to make ¾ cup of liquids.
- Add liquid to the dry ingredients then mix until fully combined. The dough should be soft and slightly sticky.
- Sprinkle a light dusting of flour on a work surface and scrape the dough out from the bowl.
- Knead the dough four to five times then roll out with a rolling pin to ½ an inch thickness.
- Cut out rounds and set onto an non-greased baking sheet. Gather excess dough and repeat process until no dough remains.
- Place baking sheet with scones in the freezer for 10 to 15 minutes.
- Remove the scones from the freezer. Mix 1 teaspoon heavy whipping cream with a ½ teaspoon water and brush that over the tops of the scones. Lightly sprinkle white sugar over the scones.
- Bake in the oven for 15 minutes until golden brown on top.

Serve while warm with your favorite jam and clotted cream (or whipped cream for a quicker substitute). You can store these on the counter in an air tight container for up to three days, then store in the fridge. If you’re eating them the days following when you made them, split the scones in half and put them in a toaster to warm them up.
